How to Photograph a Supermoon: Pro Tips for Stunning Lunar Shots
Photographing a supermoon is one of the most magical experiences in photography.
The moon looks bigger, brighter, and more detailed than usual — but capturing it perfectly isn’t as easy as pointing your phone at the sky.
With the right techniques, even beginners can take stunning, professional-looking supermoon photos.
Let’s go step-by-step so you can be ready for the next big lunar show.
Understand What a Supermoon Is
A supermoon happens when the moon is closest to Earth in its orbit, making it appear up to 14% larger and 30% brighter.
This is why photos taken during a supermoon are more detailed and dramatic.
📌 The key is knowing the date and time when it will be visible.
You can use apps like SkySafari, Stellarium, or even Google’s sky view to plan ahead.

Plan Your Location in Advance 📍
A good location makes all the difference.
You don’t want buildings, electric wires, or trees blocking your view unless you’re using them creatively.
-
Look for open fields, beaches, or high viewpoints.
-
If you want city shots, choose a spot where the moon will rise behind iconic buildings or monuments.
Tip: Use a moon tracking app to know exactly where the moon will rise and set in your area.
Pick the Right Time ⏰
The best time to photograph a supermoon is during moonrise or moonset.
Why? Because the moon is lower in the sky, and you can capture it with objects in the foreground for scale.
-
Moonrise: Gives warm golden tones.
-
Moonset: Often has cooler, bluish light.
Also, shooting during the blue hour (just after sunset or before sunrise) adds a beautiful contrast between the moon and the sky.
Choose the Right Gear 📸
While you can shoot with a smartphone, a DSLR or mirrorless camera will give you the sharpest results.
| Gear | Why It Helps |
|---|---|
| DSLR / Mirrorless Camera | Better control over settings and quality |
| Telephoto Lens (200mm or more) | Captures moon’s details clearly |
| Tripod | Keeps your shot stable and sharp |
| Remote Shutter or Timer | Avoids camera shake |
If you have a smartphone, use a tripod and a clip-on telephoto lens for better results.
Camera Settings for Supermoon Photography
Getting the settings right is the difference between a blurry blob and a crisp, glowing moon.
-
Mode: Manual (M)
-
ISO: Start with 100 or 200 (low ISO avoids grain)
-
Aperture: f/8 to f/11 for sharpness
-
Shutter Speed: Around 1/125 sec for a bright moon
-
Focus: Manual focus, set to infinity
📌 Remember: The moon is bright! Don’t overexpose it.
Use Foreground for Drama 🌆
A big mistake beginners make is taking only the moon in the frame.
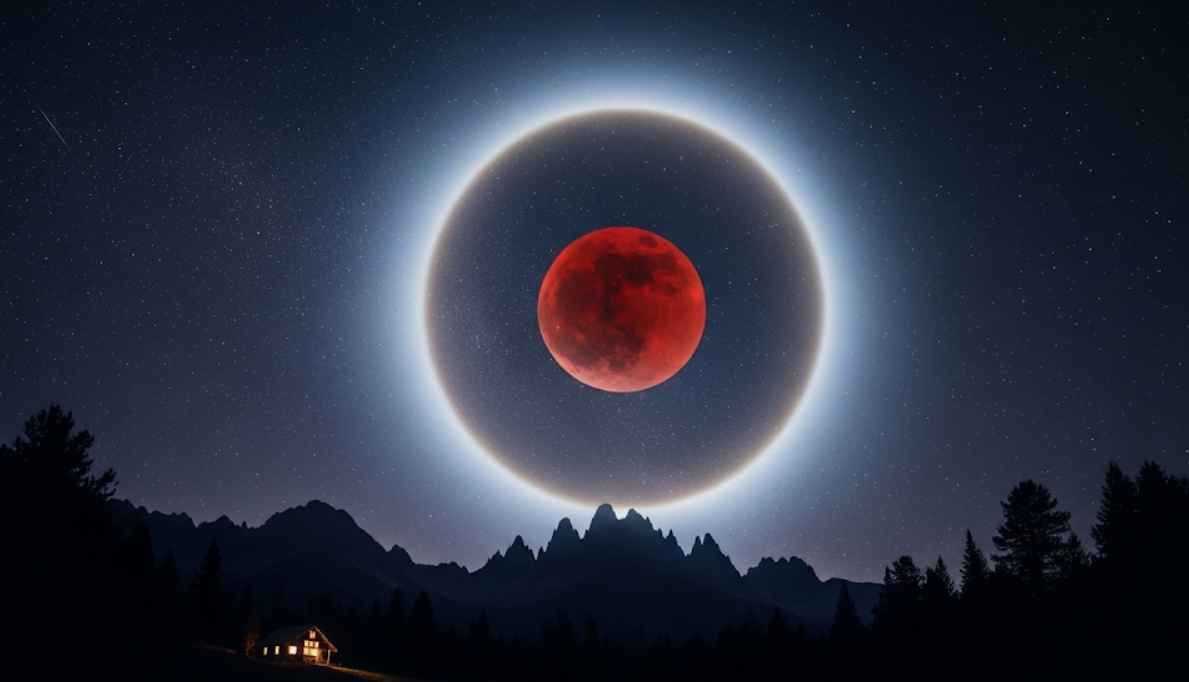
While close-up shots are nice, adding a foreground makes the photo more interesting.
Ideas for foregrounds:
-
A mountain or hilltop silhouette
-
A lighthouse or tall building
-
A tree with branches framing the moon
This gives your photo a sense of scale and makes it stand out.
Stabilize Your Camera
Even the smallest shake can blur your moon photo.
That’s why a tripod is essential.
If you don’t have one:
-
Place your camera on a wall, bench, or steady surface.
-
Use the camera’s timer to avoid pressing the shutter directly.
Take Multiple Shots 📷
Don’t rely on just one picture.
The moon moves quickly, and lighting changes fast.
Take multiple shots with slightly different settings:
-
Try a faster shutter speed for sharper detail.
-
Try a slower speed if you want a bit of glow around the moon.
Later, you can choose the best one during editing.
Editing for the Final Touch ✨
Post-processing can bring out details you didn’t see at first.
But don’t overdo it — you want the moon to look natural.
-
Increase sharpness slightly to highlight craters.
-
Adjust contrast to make the moon pop against the sky.
-
Play with warmth or cool tones depending on mood.
Free tools like Snapseed, Lightroom Mobile, or Photoshop Express work great.
Avoid These Common Mistakes ❌
-
Using Auto Mode: Your camera might overexpose the moon.
-
Shooting Without a Tripod: Leads to blurry results.
-
Over-Editing: Makes the moon look fake.
-
Forgetting Composition: A plain moon shot can feel empty.
Pro Tips for Stunning Results
-
Bracket Your Exposures – Take several shots at different exposures and combine them later for perfect balance.
-
Shoot in RAW – Gives you more editing flexibility without losing detail.
-
Mind the Weather – Clear skies are your best friend.
-
Zoom Slowly – Sudden zoom changes can cause blur.
-
Experiment – Try reflections in water or cityscapes with the moon.
Quick Settings Cheat Sheet 📑
| Setting | Recommended |
|---|---|
| Mode | Manual (M) |
| ISO | 100-200 |
| Aperture | f/8 – f/11 |
| Shutter Speed | 1/125 sec (adjust if needed) |
| Focus | Manual, set to infinity |
| Lens | 200mm or more |
Make It Fun and Personal
Photographing the supermoon is not just about the photo — it’s about the experience.
Go with friends or family, enjoy the night, and take time to admire the beauty of the moon.
Sometimes the best shots happen when you’re relaxed and not rushing.
Final Thoughts 🌙
A supermoon is a rare and breathtaking sight.
With the right preparation, gear, and technique, you can capture it in all its glory.
Plan ahead, be patient, and remember — every shot you take is a step closer to your perfect lunar masterpiece.
So next time the moon decides to show off, you’ll be ready with your camera in hand and a smile on your face.